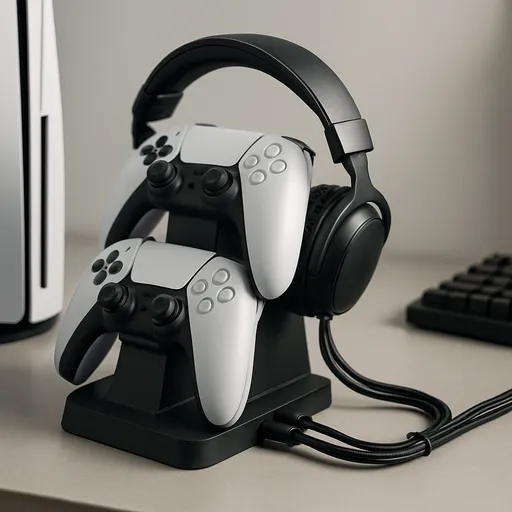
Start With the Basics
If you notice trailing, smearing, or a soft blur behind moving objects, the first step in any monitor response time ghosting fix is to rule out simple setup issues. Ghosting is often blamed on the panel alone, but the problem can also come from the wrong input, a poor cable, a mismatched refresh setting, or aggressive image processing.
Begin by checking that your PC or console is actually sending the monitor a signal it can handle cleanly. Use the native resolution when possible and confirm that the refresh rate is set correctly in the operating system or device menu. A monitor running below its intended refresh rate can look slower than it should, even if the panel itself is fine.
Next, inspect the cable and connection path. A loose port, a low-quality cable, or an adapter chain can introduce visual instability that looks a lot like ghosting. If the display supports both HDMI and DisplayPort, try the connection type recommended in the monitor manual for your target refresh rate. Keep the cable run short and avoid unnecessary splitters.
Then look at picture mode. Many monitors ship with vivid presets that sharpen colors at the expense of motion clarity. Try a standard or game mode first, not the most aggressive dynamic option. The goal is a clean baseline before you touch more advanced settings.
If the blur remains after these checks, you can move on with a better sense of what is actually causing it. That saves time and keeps you from overcorrecting a setting that was never the real issue.
Check Refresh Rate and Source Output
Refresh rate and response behavior are related, but they are not the same thing. A fast panel can still look poor if the source is outputting the wrong refresh rate or if the display is not using its best mode for the signal it receives. For a monitor response time ghosting fix, make sure the source device and the monitor agree on the same target refresh rate.
On a PC, open the display settings and confirm that the chosen refresh rate matches the monitor’s intended operating mode. If several options appear, pick the highest stable setting the monitor supports on that connection. On a console, check the video output menu and look for the mode that pairs best with the monitor’s native resolution and refresh range.
Variable refresh features can help reduce visible tearing, but they do not erase ghosting by themselves. If your monitor supports adaptive sync, enable it only if the feature is stable with your source device. If motion looks worse after switching it on, turn it back off and compare. Small compatibility issues can create odd blur or flicker that is easy to mistake for panel weakness.
Also watch for scaling. If the source is outputting a non-native resolution and the monitor is stretching it, moving objects can appear softer. Native resolution usually gives the cleanest motion path, especially on smaller displays where scaling artifacts stand out less but still affect clarity.
The key is to remove variables one at a time. That makes it easier to tell whether the problem comes from signal setup or from the monitor’s own pixel behavior.
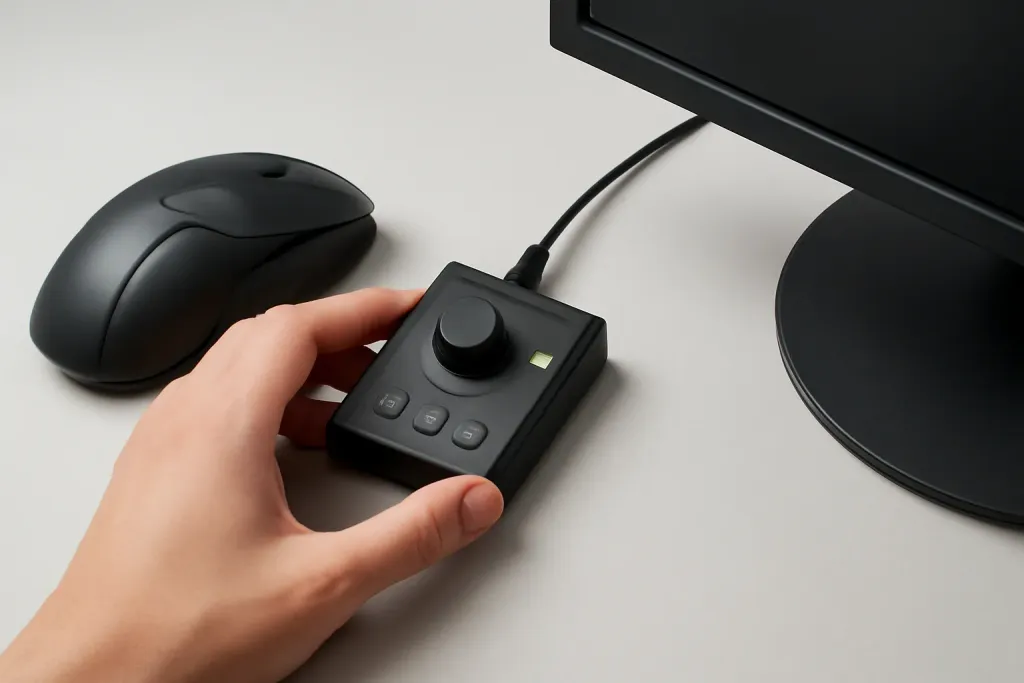
Tune Overdrive Carefully
Overdrive is one of the most useful tools for reducing motion blur, but it can also create new artifacts if pushed too far. Many monitors offer response time or overdrive presets such as Low, Medium, High, or Fast. The right choice depends on the panel, the refresh rate, and the type of game or video you are watching.
Start with the middle setting if one is available. That usually gives the best balance between cleaner motion and fewer bright halos or inverse trails. If the setting is too weak, fast-moving edges may still leave a visible tail. If it is too strong, you may see bright outlines behind objects, especially on dark backgrounds.
For a monitor response time ghosting fix, do not assume the highest setting is best. More aggressive overdrive can improve one kind of blur while making another kind more obvious. This is especially common when the display changes behavior at different refresh rates. A setting that looks fine at 60 Hz may become messy at 120 Hz or higher, or the reverse.
Use a game or video with fast lateral motion and watch for trails around contrasting edges. Adjust one step at a time and give each change a fair look. If the monitor offers a response boost or extreme mode, treat it as an optional experiment rather than a default choice.
If you cannot find a setting that looks clean, that does not automatically mean the monitor is faulty. It may simply mean the panel’s tuning is tuned for a different balance than you prefer.
Shop on Amazon
SponsoredAs an Amazon Associate, GameGearLab earns from qualifying purchases. Affiliate disclosure. Images are generic illustrations, not the exact listing.
-
Gaming Monitors
A general starting point for browsing gaming monitors, covering common refresh-rate and resolution tiers.
Browse gaming monitors on Amazon: Gaming Monitors on Amazon -
Gaming Mice
A general starting point for browsing gaming mice, covering common shapes and grip-friendly designs.
Check current mouse options on Amazon: Gaming Mice on Amazon -
Gaming Chairs
A general starting point for browsing gaming chairs, covering common adjustability features to look for.
See gaming chair options on Amazon: Gaming Chairs on Amazon -
Gaming PCs
A general starting point for browsing gaming PCs and components, covering common configuration tiers.
Browse gaming PCs on Amazon: Gaming PCs on Amazon -
Console Accessories
A general starting point for browsing console and setup accessories, covering stands, hubs, and cable routing tools.
Browse console accessories on Amazon: Console Accessories on Amazon -
Gaming Headsets
A general starting point for browsing gaming headsets, covering wired and wireless options across consoles and PC.
Browse gaming headsets on Amazon: Gaming Headsets on Amazon -
Controllers
A general starting point for browsing controllers, covering standard and alternative layouts for PC and consoles.
See controller options on Amazon: Controllers on Amazon -
Gaming Keyboards
A general starting point for browsing mechanical gaming keyboards, covering common layouts and switch styles.
Browse gaming keyboards on Amazon: Gaming Keyboards on Amazon
Reduce Extra Processing
Modern monitors often include extra image processing meant to make content look sharper or more dramatic. Some of these features can interfere with motion clarity and make ghosting more noticeable. If your goal is a practical monitor response time ghosting fix, simplify the picture before chasing subtle panel behavior.
Look for features such as motion smoothing, dynamic contrast, noise reduction, black equalizer tools, or artificial sharpening. These can change the way edges appear from frame to frame, which may create a smeared or unstable look during movement. A cleaner baseline usually comes from turning off the extras first and then adding only the settings you truly want.
Also check for image modes aimed at cinema, live sports, or vivid showroom style presentation. They can be useful in some situations, but they often prioritize punch over motion accuracy. A standard or custom mode generally gives you more control and fewer surprises.
If your monitor has a backlight strobing or motion blur reduction feature, test it carefully. These modes can make moving images look clearer, but they may also reduce brightness or introduce flicker that some people find distracting. They are not an automatic fix for every setup, and they often work best only within a narrow refresh range.
Keep your changes organized. Adjust one feature, observe the result, and then move to the next. That way you can tell which setting helped and which one made the image harder to read in motion.
Match Cable, Device, and Panel Capabilities
Not every ghosting problem is caused by the monitor alone. The cable, graphics output, and panel type all affect how clean motion looks. A basic monitor response time ghosting fix should include checking whether the whole chain is capable of the mode you want to use.
First, verify that the cable supports the resolution and refresh rate you are trying to run. Older or lower-spec cables may still show a picture, but the result can be less stable or force the system into a lower-quality mode. If the monitor came with a cable, start there before trying random replacements.
Second, confirm that the source device can actually deliver the desired signal. Some laptops, docks, or adapters limit the available refresh rate or color format. Even if the monitor is capable of faster motion, a weaker output path can hold it back.
Third, remember that panel technology matters. Some panels naturally show more trailing in dark transitions, while others handle bright-to-dark changes better than mixed-color motion. That does not mean one panel is bad and another is perfect; it just means expectations should match the screen type and use case.
If you use multiple devices, test them one at a time. A console may look different from a PC, and a gaming laptop may behave differently from a desktop graphics card. When the symptom changes between sources, the issue may be the signal path rather than the display itself.
In practical terms, compatibility checks can save you from buying the wrong upgrade. Sometimes the best improvement is a better connection or a better-tuned output mode, not a new monitor.
Know When to Stop Adjusting
At some point, more tweaking stops helping. Every monitor has limits, and some level of trailing is normal on many panels, especially in darker scenes or at lower refresh rates. The goal of a monitor response time ghosting fix is not to erase motion artifacts completely; it is to reduce them enough that normal use feels clean and consistent.
If you have checked the source signal, tried the native resolution, corrected the refresh rate, reduced extra processing, and explored overdrive settings without finding a good balance, the remaining issue may be the panel’s own behavior. In that case, a different monitor class may suit your needs better, especially if you care a lot about fast-paced games.
Before replacing anything, decide what matters most. If you mainly play slower titles, a small amount of trailing may be acceptable. If you play competitive shooters or rhythm games, you may want a screen tuned for faster motion even if it sacrifices some color pop or contrast at certain settings.
It also helps to set expectations around budget choices. Entry-level monitors can be perfectly usable, but they often involve trade-offs in motion handling. Midrange and higher-end models may offer better tuning options, but not every expensive display is automatically clearer in motion.
Use your own eyes, your own games, and your usual seating distance as the final reference. If the image looks clean enough for your needs, stop adjusting and enjoy the screen. If not, you now have a sensible checklist for deciding whether the fix is a setting change or a hardware change.